Microgreens; A Fast, Easy and Complete Growing Guide

In a world where nutritious food is in high demand and urban spaces are shrinking, a remarkable trend has taken root: microgreens. These tiny, vibrant plants have emerged as a culinary sensation, captivating chefs, health enthusiasts, and home gardeners alike.
Bursting with flavor, packed with nutrients, and boasting an astonishing array of colors, microgreens are nature’s gift to those seeking fresh, sustainable, and intensely flavorful ingredients.
In this guide, we will delve into the enchanting world of microgreens, unveiling the secrets to their successful cultivation. We will explore the wonders of these pint-sized powerhouses, discovering their incredible health benefits, unparalleled flavors, and limitless culinary possibilities.
So, roll up your sleeves and get ready to witness the magic of nature in its most condensed form, as we explore the art and science of growing microgreens. Prepare to transform your meals, your health, and your connection to the natural world, one tiny seed at a time.
SUPPLIES NEEDED:
1. Microgreens Growing Trays
There is no hard and fast rule for what microgreens can be grown in. We recommend a microgreen tray for beginners, any brand works, but our favorites are on Amazon, Shopee, and Lazada.
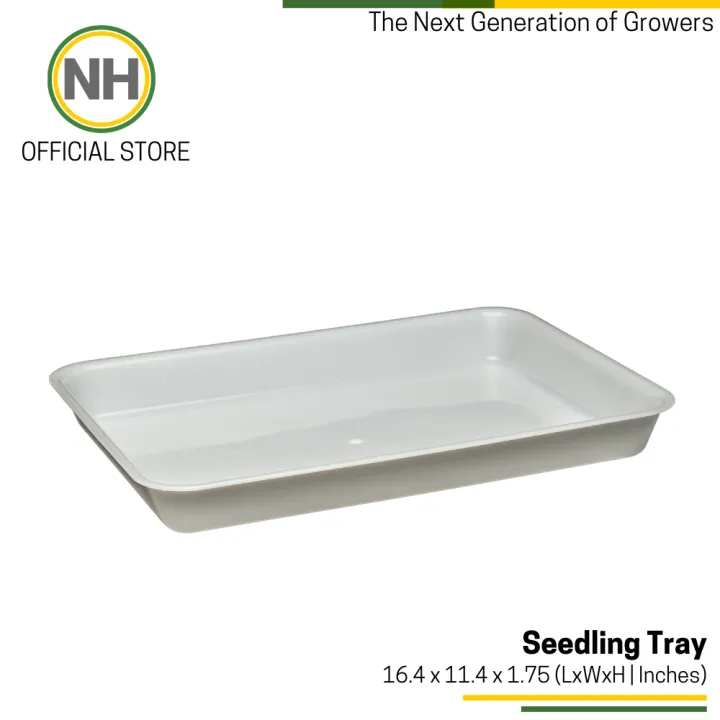
NUTRIHYDRO GERMINATION TRAY
The Nutrihydro germination tray is a food-grade HDPC plastic tray designed for germination in hydroponic and irrigation systems. This durable, white tray provides an optimal environment for seedlings, promoting healthy growth. Easy to clean and compatible with various growing media, the NH Tray is perfect for gardens, greenhouses, and agricultural projects
STORE LINKS: Lazada | Shopee | Find Similar on Amazon

SEEDLING PROPAGATION TRAY BUNDLE
This package contains 20 pieces of plant growing trays, ample in quantity to meet your daily use and replacement needs; You can use these plant growing trays to plant different kinds of plants at the beginning of growth, creating your own small greenhouse garden; It is also a nice choice to share these growing trays with your family and friends
STORE LINKS: Amazon
COMPLETE MICROGREENS SPROUTING SET
This sprouting tray is made from high-quality, food-grade plastic, and is designed to make the process of growing microgreens easy and hassle-free. Measuring 39 x 22.5 X 2.5 centimeters, it is compact enough to fit on any countertop or windowsill, yet spacious enough to grow a variety of microgreens at once.
STORE LINKS: Lazada | Shopee | Find Similar on Amazon
2. Microgreens Grow Medium
One of the most important decisions to make is what type of growing medium to use. Some growers swear by potting soil; others prefer soilless medium, like coco mat planters. If you’re going the soil route for your microgreens, we recommend peat moss or coco peat. Commercial garden soil varieties are not the best medium for microgreens because they are too compact and don’t allow the roots to penetrate and grow.
3. Microgreens Seeds
Using organic seeds will be the safest and best option. Buying in bulk will keep costs down, but a good policy is to test a few varieties before going all-in on a large volume of seeds.

4. Sunlight/ Growlights
A sunny, south-facing window is often an excellent place to start experimenting with growing microgreens. 4-8 hours of direct light per day is necessary for healthy growth.
When it comes to growing microgreens indoors, LED grow lights are the best option. LEDs are rapidly becoming more popular and are offering better performance compared to traditional lighting systems like fluorescents and HIDs.
LED lights are a popular choice among indoor gardeners and hydroponic enthusiasts due to their energy efficiency, long lifespan, and ability to produce specific light wavelengths that are most useful for plant growth.
In particular, full-spectrum LED grow lights provide a balanced blend of blue and red light that can help microgreens grow and thrive. If you are planning on growing you’re own food indoors at a reasonable price. Using a metal-wired vertical shelf is going to be the best option. Here are our top recommendations for LED grow lights that will help your microgreens thrive:

MONIOS-L T8
If you’re looking for bright and easy-to-install LED grow lights, then you should definitely check out these ones. They’re equipped with ample mounting and wiring options, making them easy to set up and use.
Not only are they well-designed, but they’re also great for growing herbs and small vegetables, including microgreens. The brightness of these lights makes them perfect for indoor gardening and will help your plants thrive. All in all, these grow lights are a solid choice for any indoor grower.
SEE ON AMAZON | FIND SIMILAR: Shopee, Lazada

BARRINA T8
What’s great about these lights is that they’re perfect for growing microgreens in a 2ft x 4ft vertical shelf. The light strips are 4ft long, so you can easily keep them close to your plants without worrying about heat damage. Another benefit is that you can connect multiple strips together or use them individually, giving you flexibility in your setup. Overall, these LED grow light strips are a fantastic choice for anyone looking to grow microgreens indoors.

KIHUNG T8
This optimal full spectrum grow light outputs a range of 400nm-800nm, which is similar to natural sunlight, making it perfect for all stages of microgreen growth. Plus, with included reflectors, the light is more concentrated, providing more PPFD value for indoor plants.
Installation is a breeze thanks to the included zip ties and clips, and the light is energy-saving with a lifespan of up to 50,000 hours – that’s 10 times longer than conventional lighting!
5. Microgreens Spray Bottle - Optional
Spritzing emerging seedlings is encouraged by some growers and discouraged by others who prefer using a watering can to water from below. Every setup is a little different and will take trial and error to get right.

WHAT WE USE
Pump sprayers or atomizers are the best to use for indoor growing. These types of bottles allow you to pump air into the bottle and use the pressure to evenly distribute a fine spray that will not displace seeds. Unlike trigger spray bottles they will not cause hand fatigue or generate a case of trigger finger.
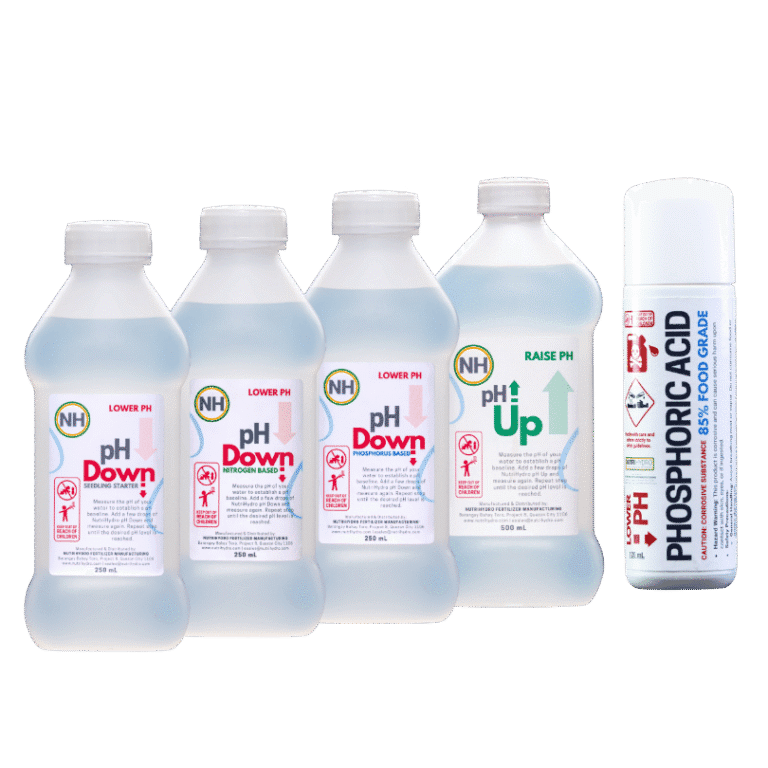
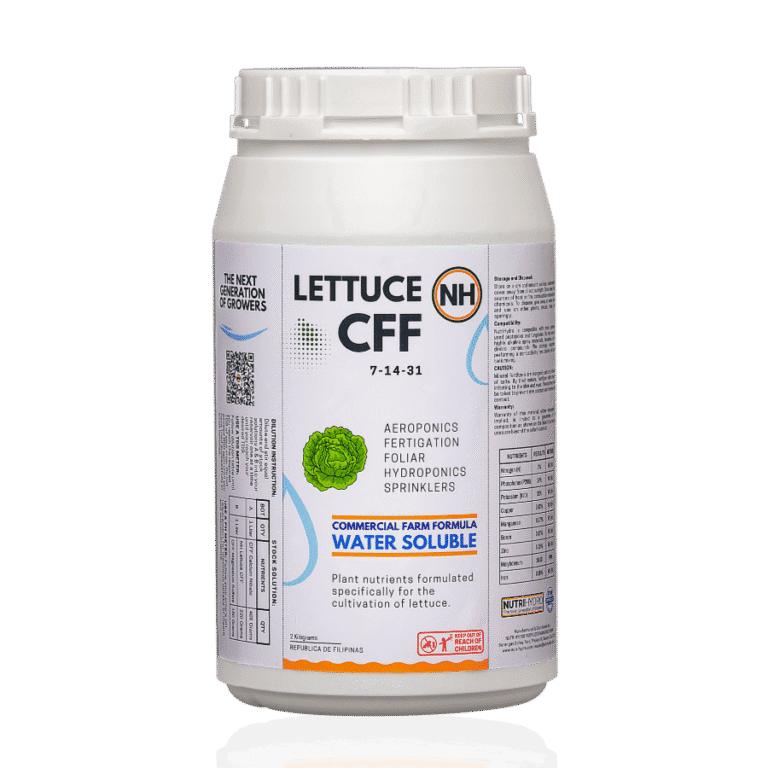
6. Microgreens Plant Nutrients
Microgreens can germinate without any fertilizer application. However, providing mineral nutrients to microgreens will increase yields. Providing 100 to 180 ppm from a complete, balanced, water-soluble fertilizer (Don’t panic this one is super easy) will enhance growth, though the concentration to use depends on your production system.
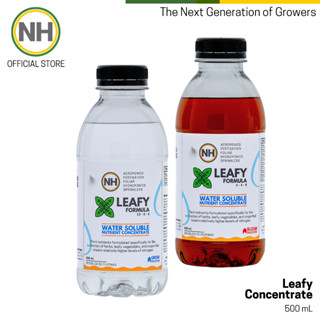
NUTRIHYDRO LEAFY GREENS
NutriHydro Leafy Formula is expertly engineered to enhance chlorophyll production, resulting in richer, deeper green colors in your leafy greens and vegetables. Composed of high-quality components, this innovative formula is specifically chemistry engineered for the cultivation of leafy greens and vegetables, ensuring they receive the essential nutrients they need to flourish.

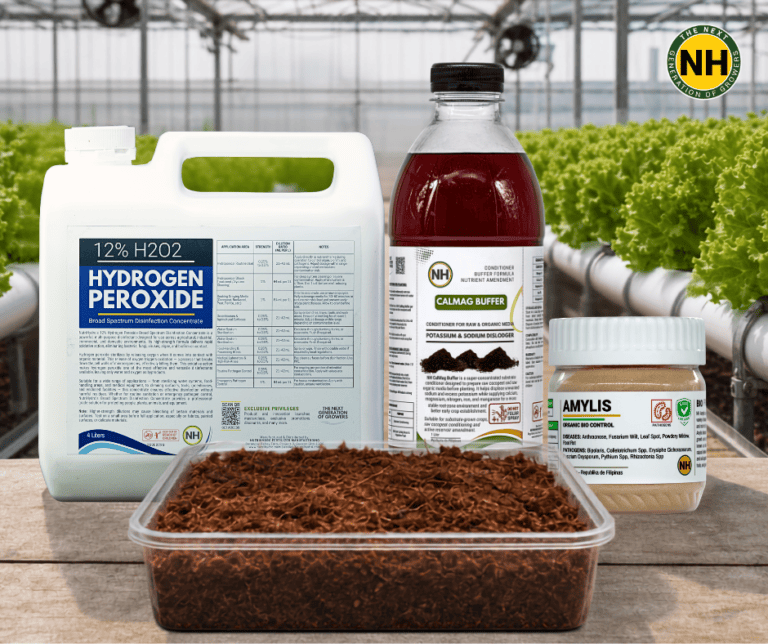
AZOMITE TRACE MINERAL FERTILIZER
Azomite is a finely ground, natural trace mineral powder made from montmorillonite clay mined from an ancient sea bed. It has over 60 trace minerals and imbues your wheatgrass, sprouts and greens with nutrients.
7. Labeling Materials
While not necessary initially, the benefits of record keeping are vast. Knowing what worked and understanding germination rates are beneficial tools if this becomes a long-term endeavor.
Once you’ve collected supplies, getting started should be easy. Following these simple steps will help to ensure success:
1. Secure a Location
Clear the area where microgreens will be grown and ensure that the surface is protected from overspray from misting or overflow from drain holes.
2. Prepare Growing Trays
If re-using a container, make sure it is disinfected and dry. Fill trays with an inch or so of moist (but not wet) growing medium and make the soil level by dragging or pressing a piece of cardboard across the soil surface.
3. Prepare and Sow Seeds
Seeds that benefit from soaking (usually larger seeds or seeds or seeds with a tough hull) should be soaked overnight or for a few hours before sowing. Spread seeds evenly over the entire surface of the soil, and sprinkle a little bit of soil/growing medium over them.
4. Press Seeds into Soil
Pressing seeds into the soil helps them establish good soil contact, which allows them to absorb more moisture and encourages germination and growth. If using trays that are the same size, it is possible to stack them on top of one another to apply uniform pressure across the entire soil surface.
5. Cover and Wait
Trays that come with moisture domes should be covered at this point, while stackable trays can be stacked to create a moisture-dome effect. Many seeds require no light to germinate–what they need is moisture–so stacking trays isn’t a problem. Some growers will cover trays with a plastic bag or plastic wrap to encourage germination in the beginning.
5. Water as Needed
Trays that are uncovered or in a sunny windowsill will need to be misted at least once a day with a spray bottle. Remember, the important thing is to keep the seeds moist, but not wet, until they germinate. Once the seeds have sprouted, spraying once or twice a day is recommended.
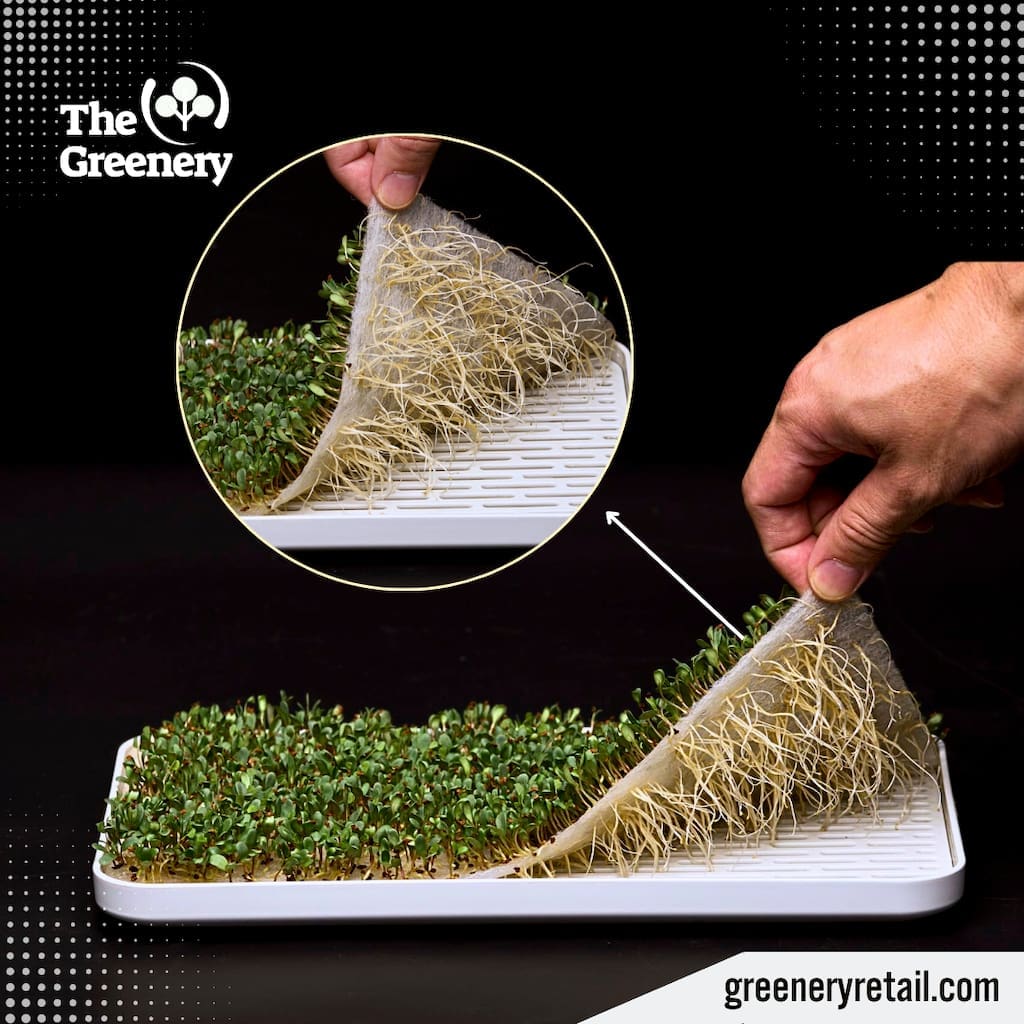
6. Harvest and Enjoy
Once the microgreens are a few inches high and have developed a set of true leaves, they are ready to harvest. Using sharp scissors, snip the stems just above the soil line. If it is necessary to rinse them, gently dry them in a salad spinner or on a paper towel.
How to Grow Microgreens in a Nutshel

Jonathan Valencia

The Next Generation of Growers
The next generation of growers is a dynamic and innovative group of individuals who are reshaping the agricultural landscape.
Embracing modern technologies, sustainable practices, and a deep understanding of the environment, these hobbyist, gardeners and farmers are revolutionizing the way we grow and produce food.
Leave your details below to join The Next Generation of Growers' mailing list.
